Most construction trades are on-site endeavors. You make sure all the right tools and supplies are in the truck and head out to the jobsite, wherever that happens to be, for the day.
Of course, some jobs are done off-site, like making kitchen cabinets or heating and cooling ductwork, but most are completed in the field, whether that’s amid the dust of summer or the mud of winter. When working on-the-go, bringing the right, minimalist collection tools for the job is essential.

Regardless of specialty, carpenters want to maximize their efficiency with the best and most versatile tools, but they also want to avoid making costly runs back to the shop for a different tool. At a minimum, a carpenter would bring these items to a jobsite:
A table saw
A sliding compound miter saw
Portable electric tools, like finishing sanders and rotary tools
A basic laser measuring device
For many jobs, they will also want to bring a small air compressor and a finishing nailer. This can be a lot to transport, but fortunately, these tools are versatile. They are light enough to carry to the job and capable enough to perform in a workshop. Whether in the garage or the basement, they can be used to make cabinets, cut and assemble interior trim components, and even build furniture pieces.
Let’s dig a little deeper into what’s in a carpenter’s toolbox.
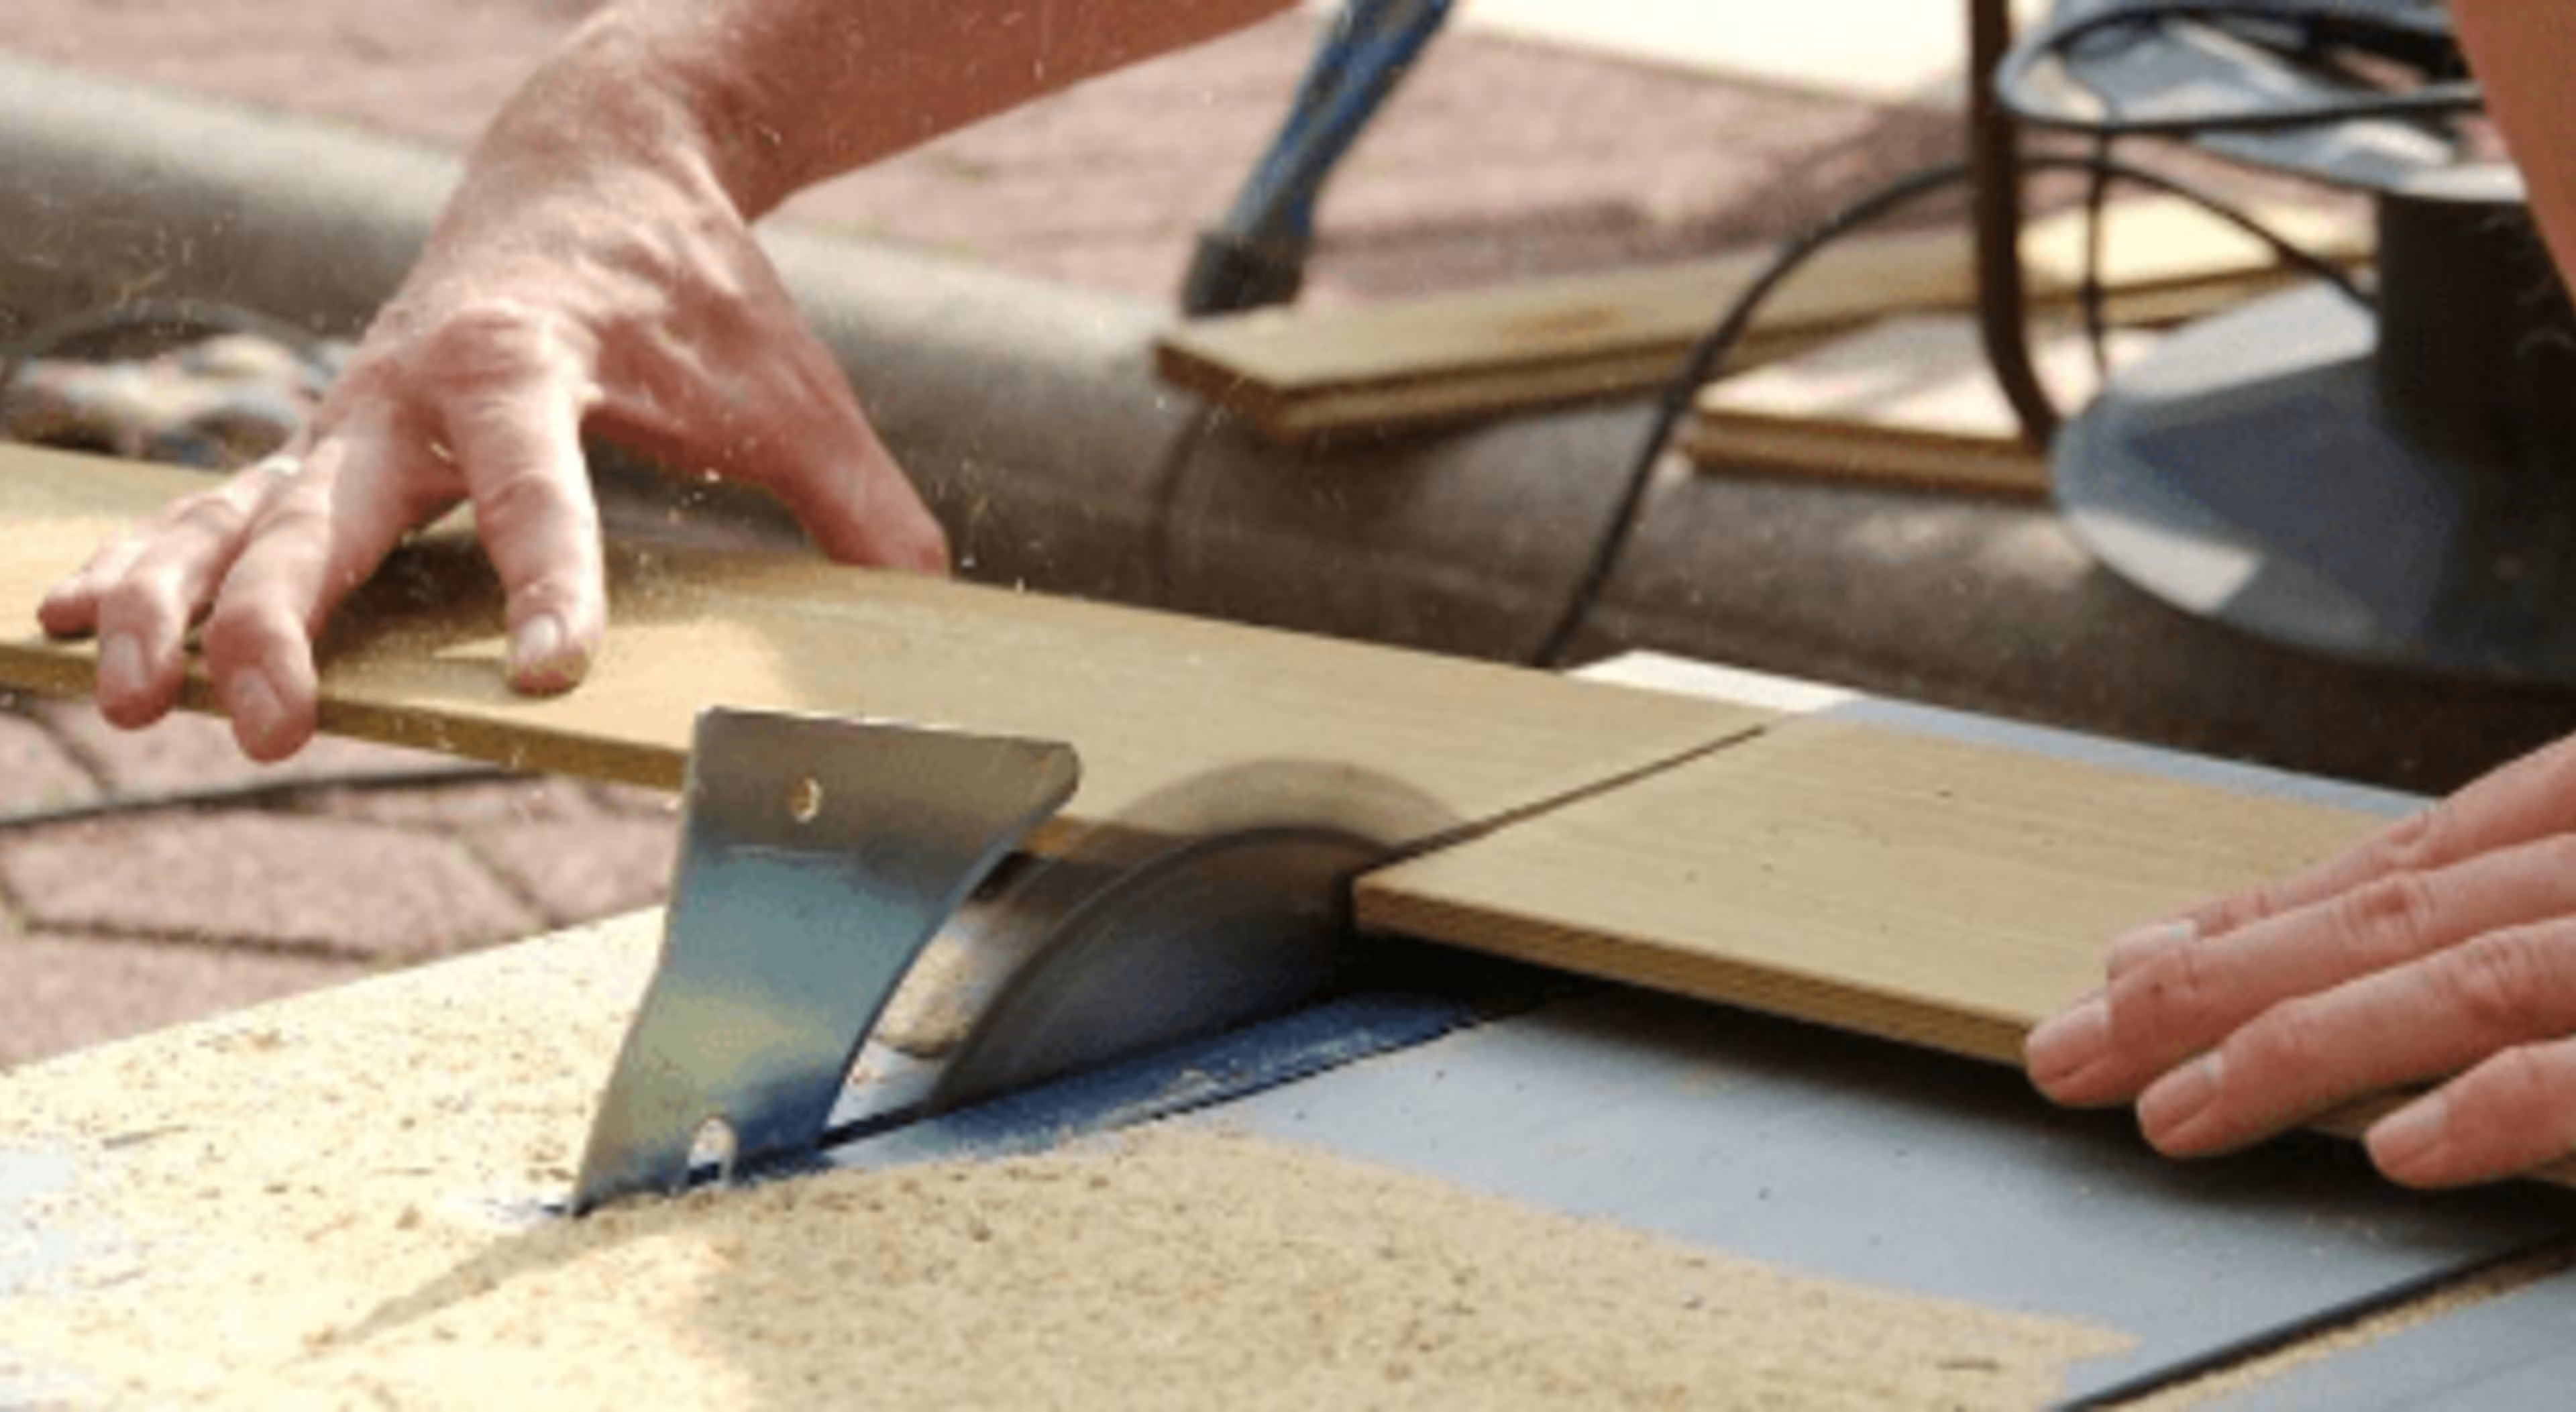
First Among Equals in the Carpenter’s Toolbox: Table Saws and Circular Saws
If you’ve ever been to a place like Colonial Williamsburg, you’ve probably seen a crew of two sawyers cutting planks from a huge log. One is in the pit, with sawdust draining onto his face all day, while the other stands on top, astride the log, in a back-breaking crouch pulling and pushing a huge steel saw blade through the log. This is hard work in the way that hard work used to be hard.
If you’ve seen this method of planking a log in action, then it’s easy to understand just what a wonderful invention a lightweight table saw is. The tool can make long, accurate rip cuts in any material, from hardwood stock to softwood planks to manufactured sheets of plywood and particle board. Because most of these tabletop saws are so lightweight (usually around 50 lb.), you can easily carry one from the workshop to the jobsite and home again without injuring your back. Rip-sawing boards is practically impossible to do with any other tool, except a hand rip saw (and that’s hard work).
Small, portable table saws allow jobs to be completed on-site, rather than requiring a stationary table saw in a shop. The downside of portable saws is that they don’t have big tables (so they’re less ideal for first cuts on a full-size piece of plywood), and over time, they may not stay as accurate. In almost every other respect, however, they offer the same benefits as a stationary table saw.
Portable table saws typically have a 10 in. diameter, carbide-tipped blade and an adjustable saw arbor that can be set anywhere from a height of 0 in. up to about 3 in. This arbor can also be tipped to one side to make bevel cuts from 0 degrees up to a few degrees past 45. Most contractors prefer a thin kerf blade because it makes a thinner cut through the wood, which puts less strain on the motor and wastes less stock.
A typical saw has a powerful 120-volt, 15-amp motor that can slice through just about any type of wood. Also available are vacuum cleaner ports for pulling sawdust away from the machine. If it’s going to be used for a couple of days (or longer) at one job, it makes sense to bolt the base to a workbench to keep it from sliding when ripping long boards.
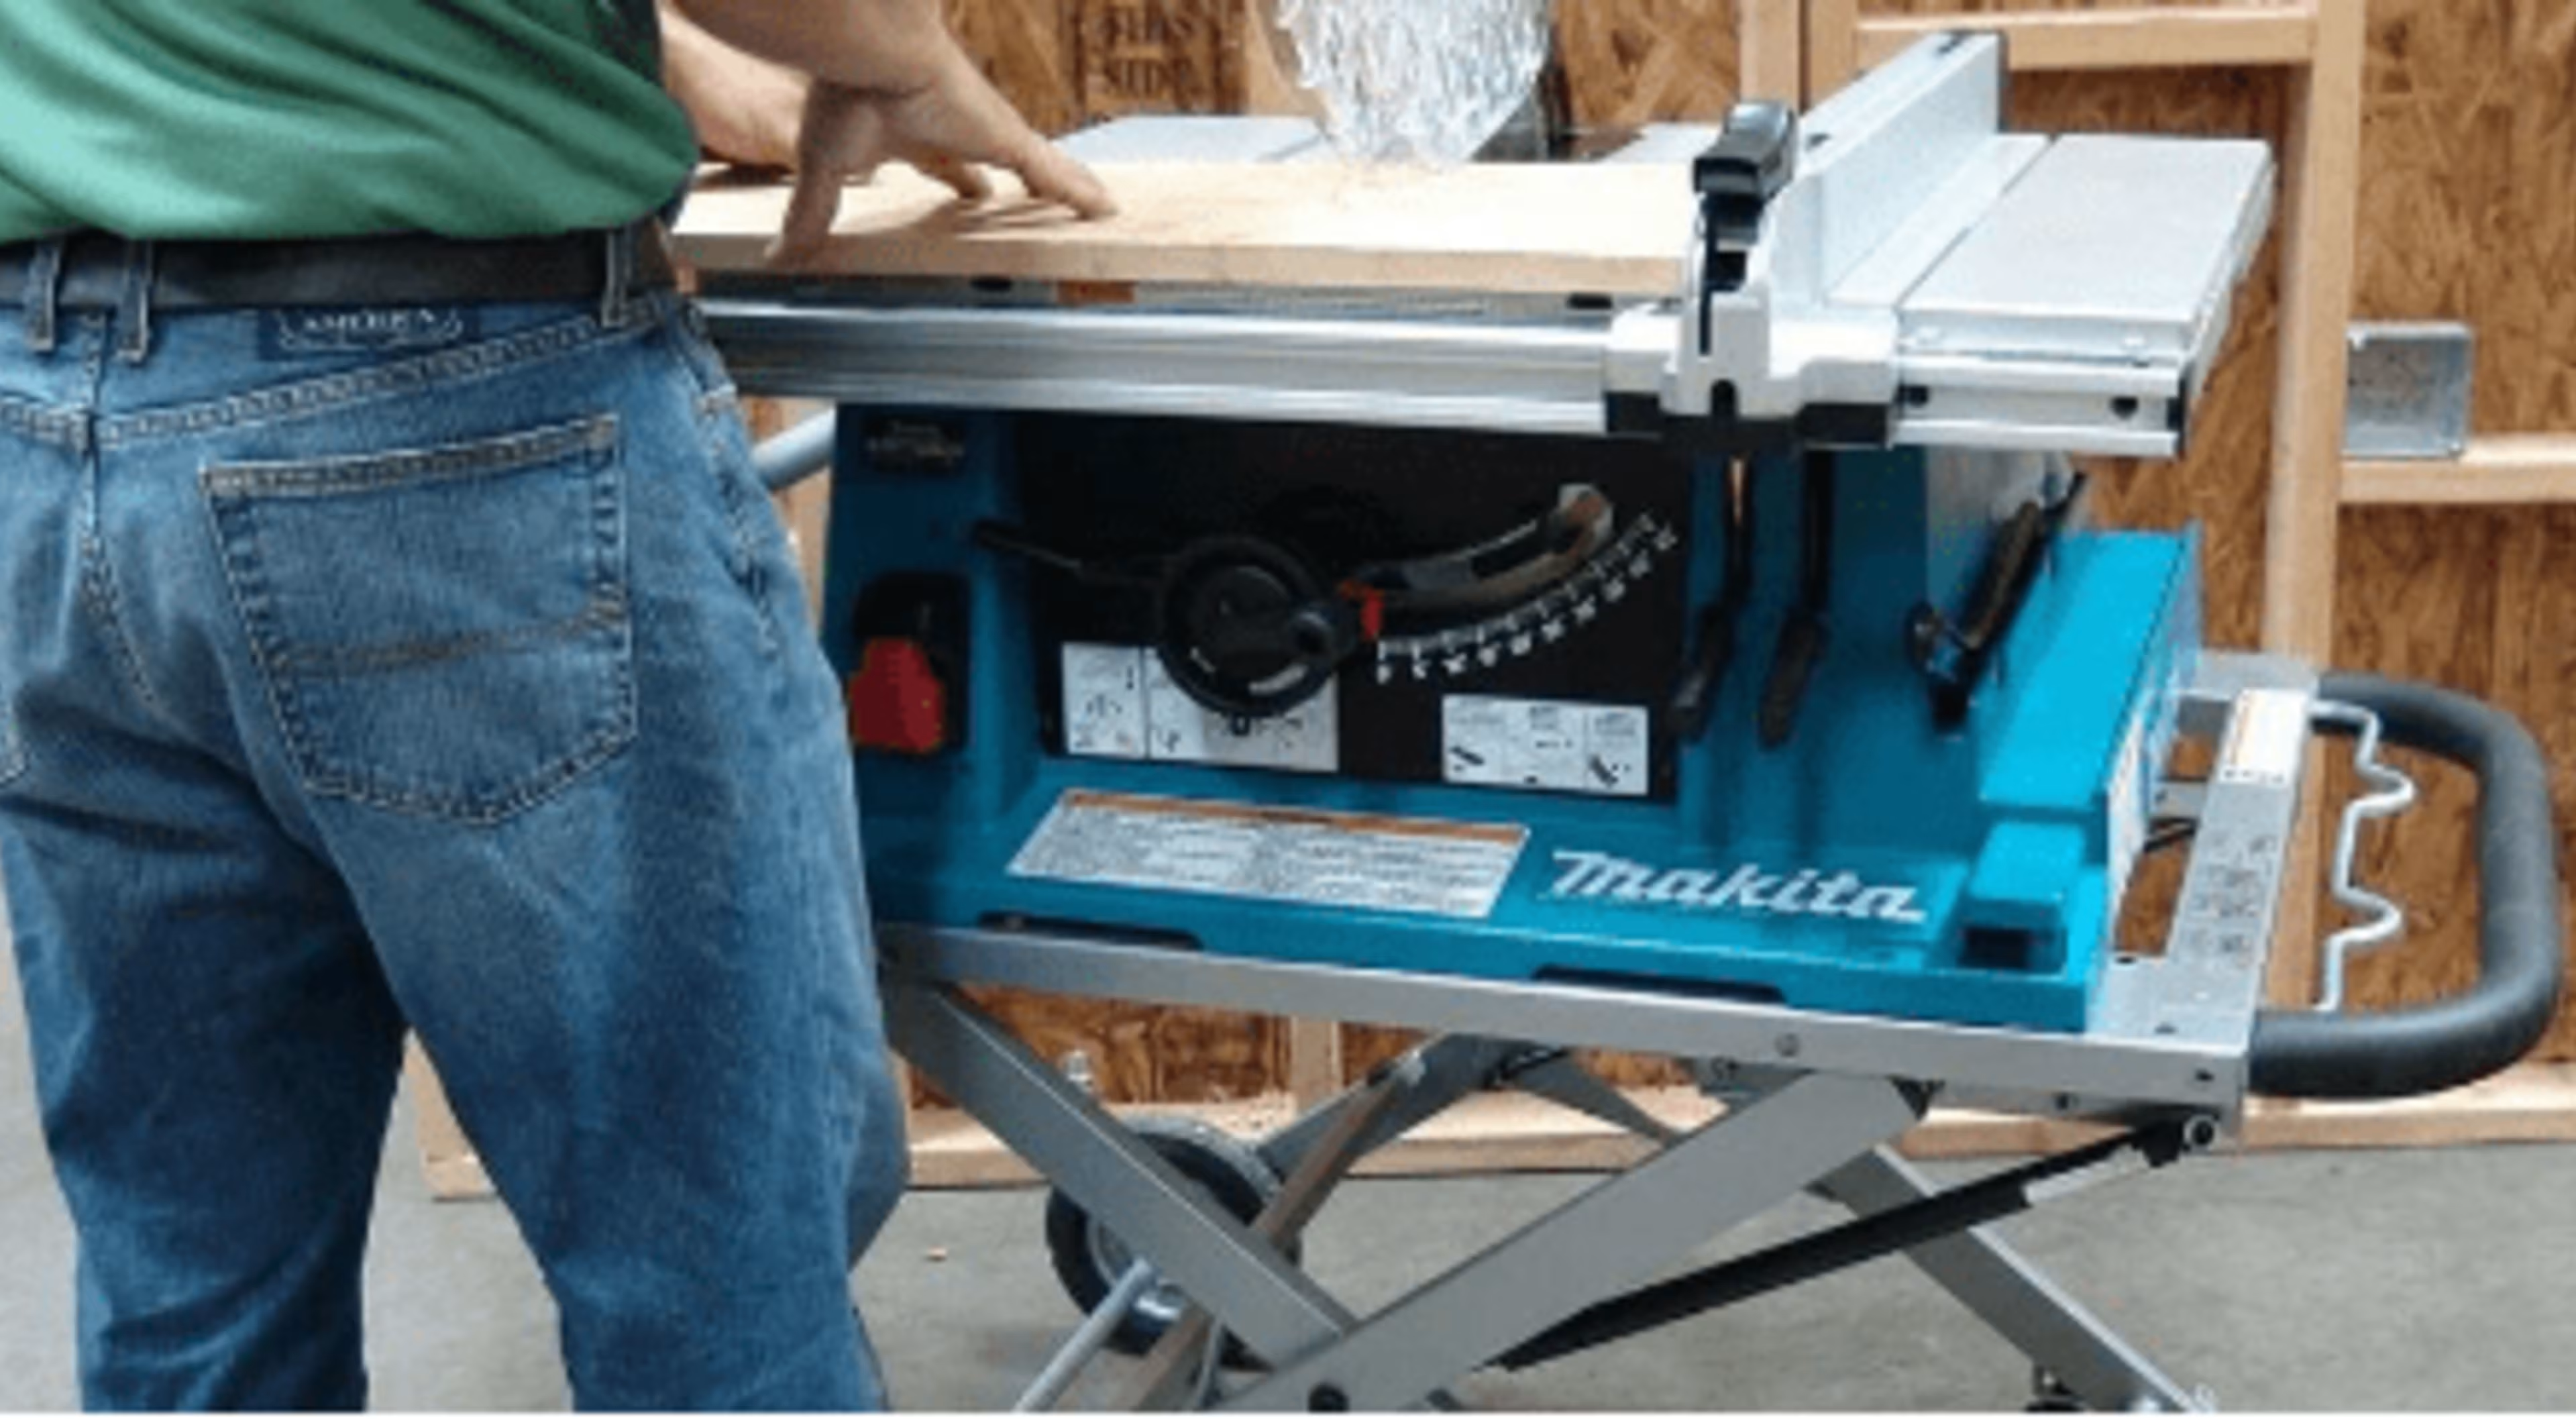
The table fence comes in different versions depending on the manufacturer, but all are designed to remain parallel to the blade when locked in place. Still, it’s hard to imagine a carpenter that doesn’t measure the distance between the fence at the front and back of the blade before every cut, to make sure that they are (in fact) parallel.
While a table saw can handle most trim-carpentry cutting, a portable circular saw provides a nice complement to the stationary table saw. Use the circular saw to cut large plywood sheets into smaller, more manageable sizes. Then, cut the pieces to their finished dimensions on the table saw. That approach is much easier—and more accurate—than trying to wrestle full plywood sheets across the table saw. Circular saws are also useful for cutting out sections of walls and floors, or to saw through a board or panel that’s already installed—all tasks that would be impossible to do with a table saw.
A Carpenter’s Dream: The Power Miter Saw
The miter cut, in all its various forms, is a staple of the trade. Imagine picture frames without their characteristic 45-degree joints at every corner, or finding a new house that doesn’t have mitered corners around the windows, doors, baseboards, and ceilings. Miter cuts are everywhere in our homes.
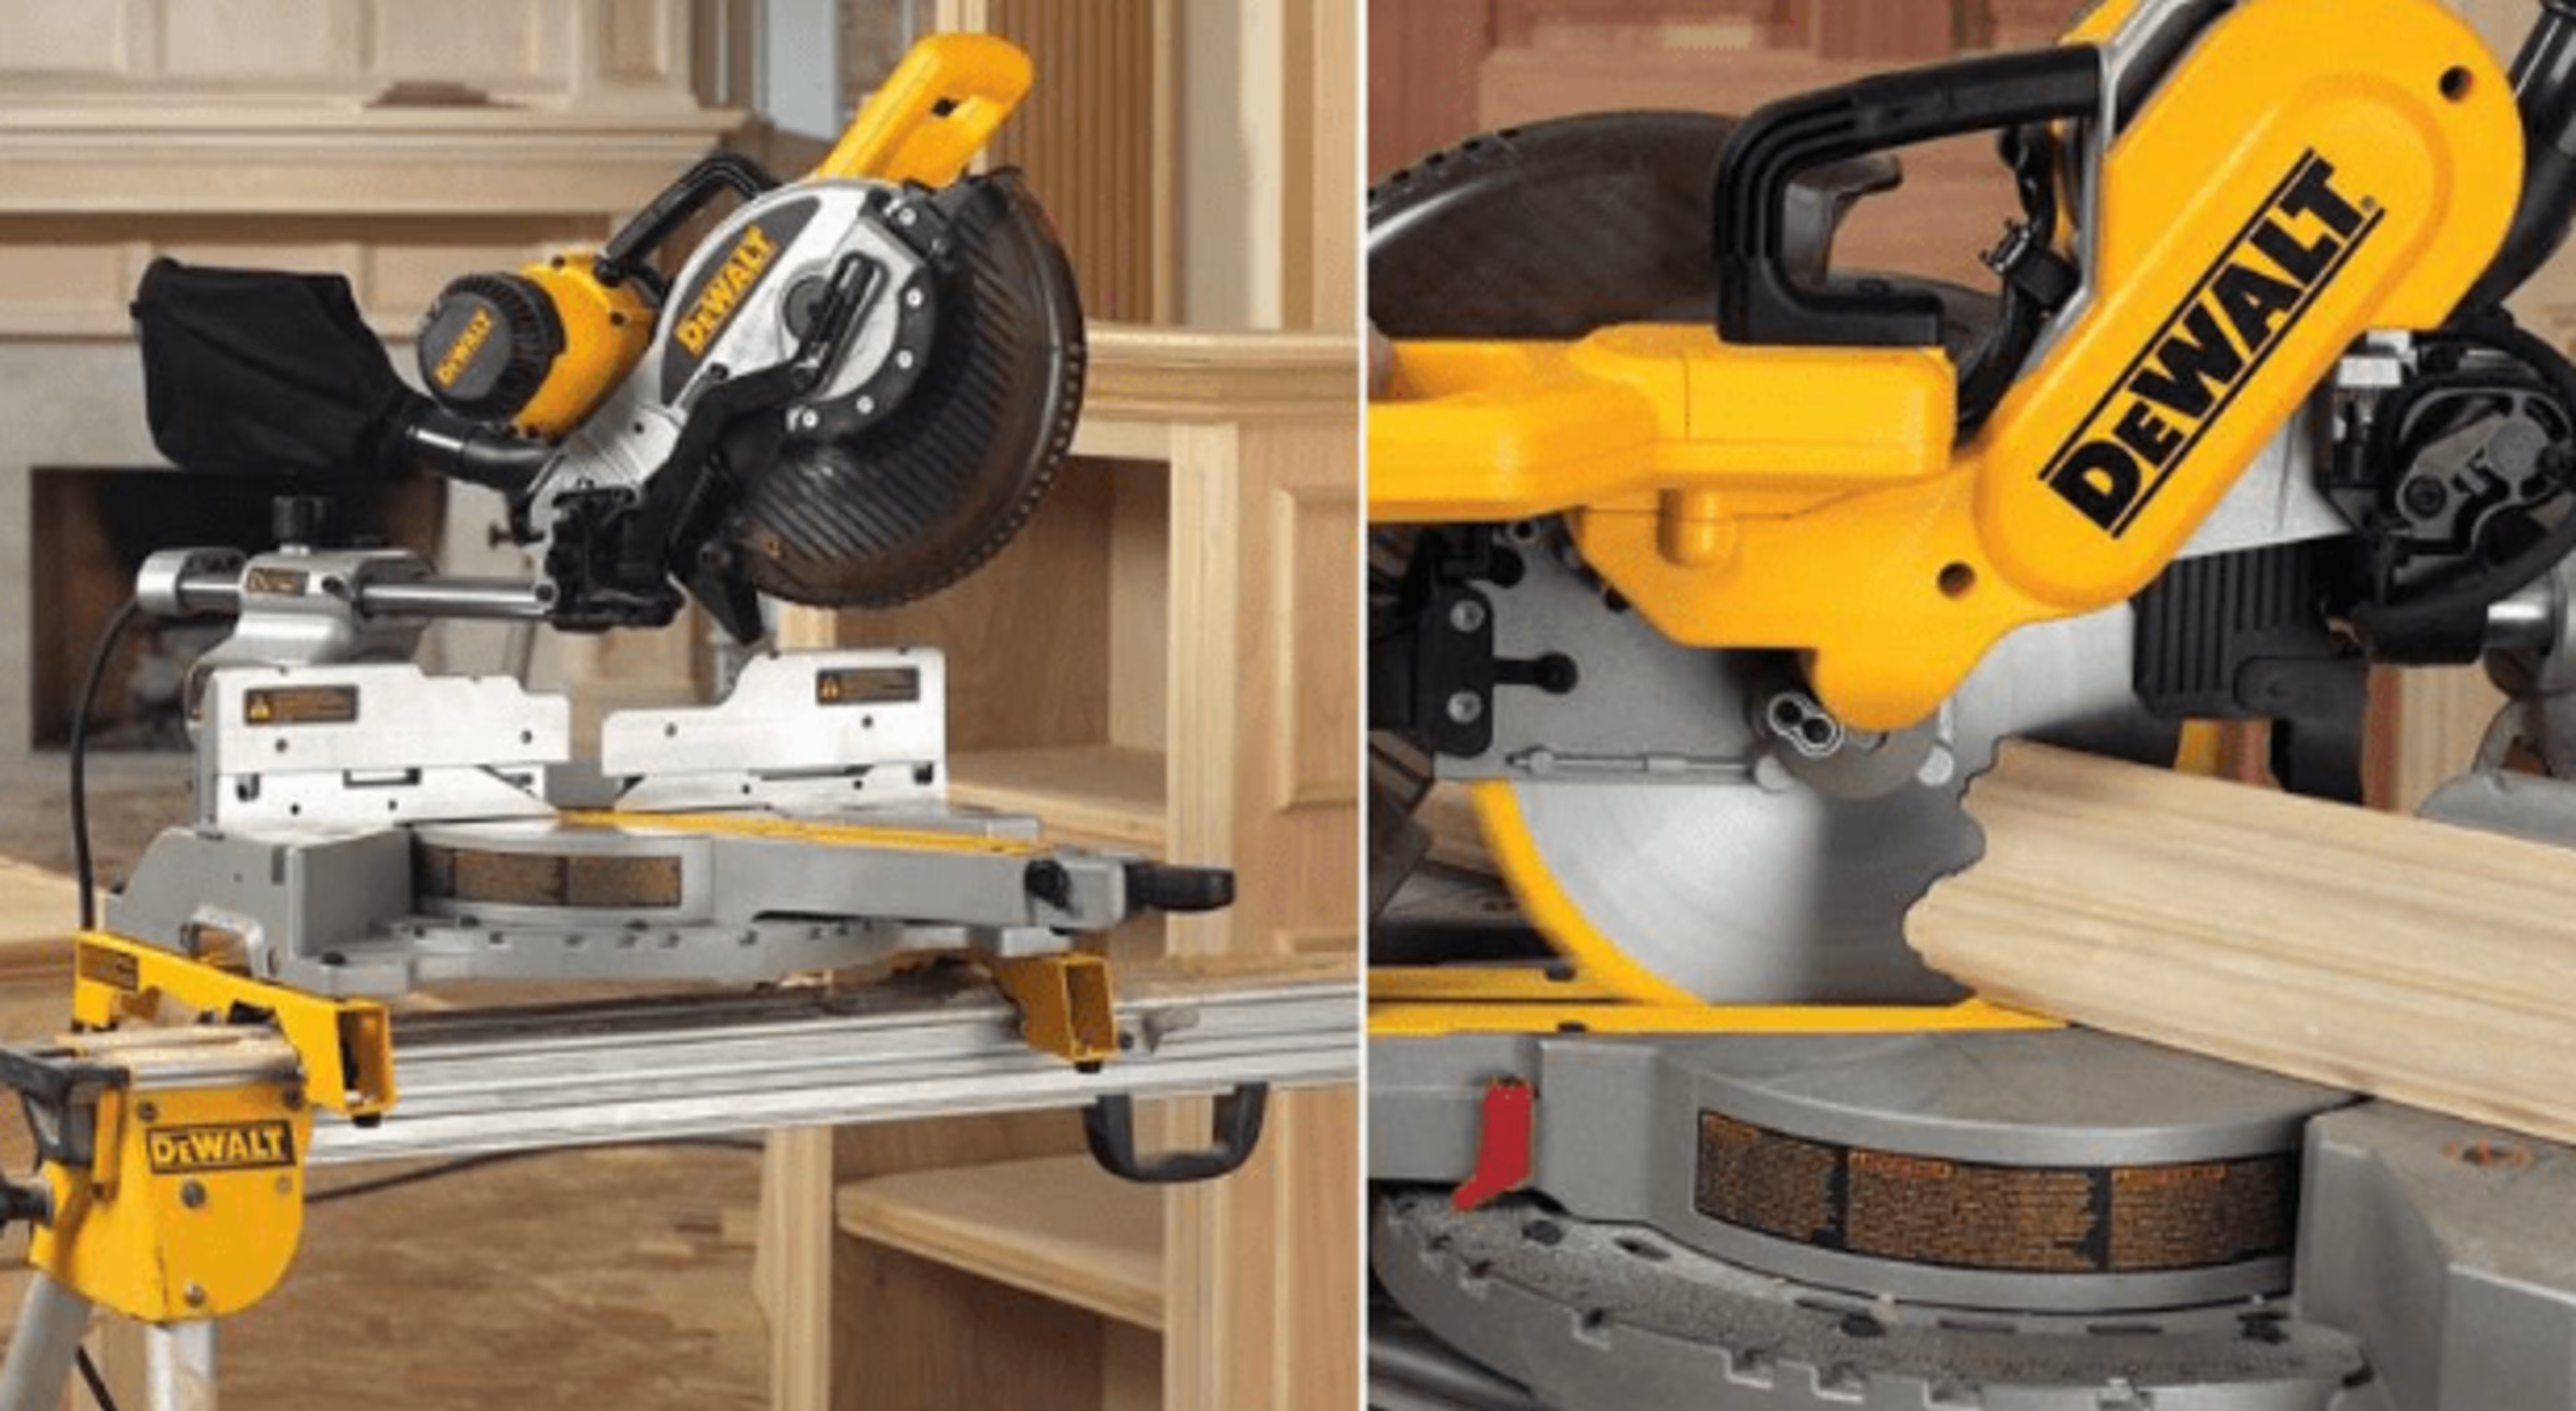
Today’s top-of-the-line tools for cutting these joints are sliding, compound miter saws. The basic design has a saw motor attached to guide rails that support the saw as it is pulled over the tool’s table. The saw head can be moved from side to side for angled cuts and tipped at an angle to cut bevels and miters on the edge of trim stock. Typical models, like the one shown here, boast 15-amp motors, 10 in. diameter blades, a large crosscut capacity (about 12 in. capacity at 45 degrees), a vertical cut capacity of about 6 in., and a miter range that exceeds 45 degrees on both sides of the blade. The maximum cutting thickness is at least 3 in. (the thickness of two 2x4s stacked on top of each other) and the typical weight is around 50 lb.
For all this angle-cutting capability, the tool would easily earn its keep by making nothing but cross cuts all day, every day. In many ways, these miter saws are a replacement for the radial arm saws of the past. They make most of the same cuts and are much lighter.
When heavy-duty versions of these miter saws were first introduced, they were sometimes called chop saws because of their popularity with framing carpenters who used them for cutting wall studs, floor joists, roof rafters, headers, and cripple studs. But as features devoted to accuracy and smooth operation were added to the designs, the work became a little kinder and gentler. It didn’t make a lot of sense to be throwing studs and joists onto the table of an expensive saw just to “chop” them off.
Miter saws are usually stabilized on the jobsite by screwing them to a makeshift workbench, but any number of support systems are available for these tools (as shown in the accessories section below). Various saw models have different vacuum ports for capturing dust, and all come with a standard dust bag that collects most (but not all) of the dust, especially when making lots of cuts.
Fence enhancements are also available that incorporate measuring embossments and adjustable stop blocks that make repeat cuts to the same length much quicker. Other features include laser cut markings that show up on the surface of the board and blade brakes that stop the blade rotation immediately. All these tools are equipped with blade guards and it’s hard to imagine using a miter saw without one. So much of the blade is exposed on each cut that any part that can be covered should be.
Smooth Operator: The Finishing Sander
Sandpaper is still king. Whether it’s held by hand against a small block of wood or clamped into some type of power tool with a pad that moves, sandpaper is critical to every carpentry project. A little bit of hand sanding doesn’t hurt anyone, but a lot of it is a job for a finishing sander.
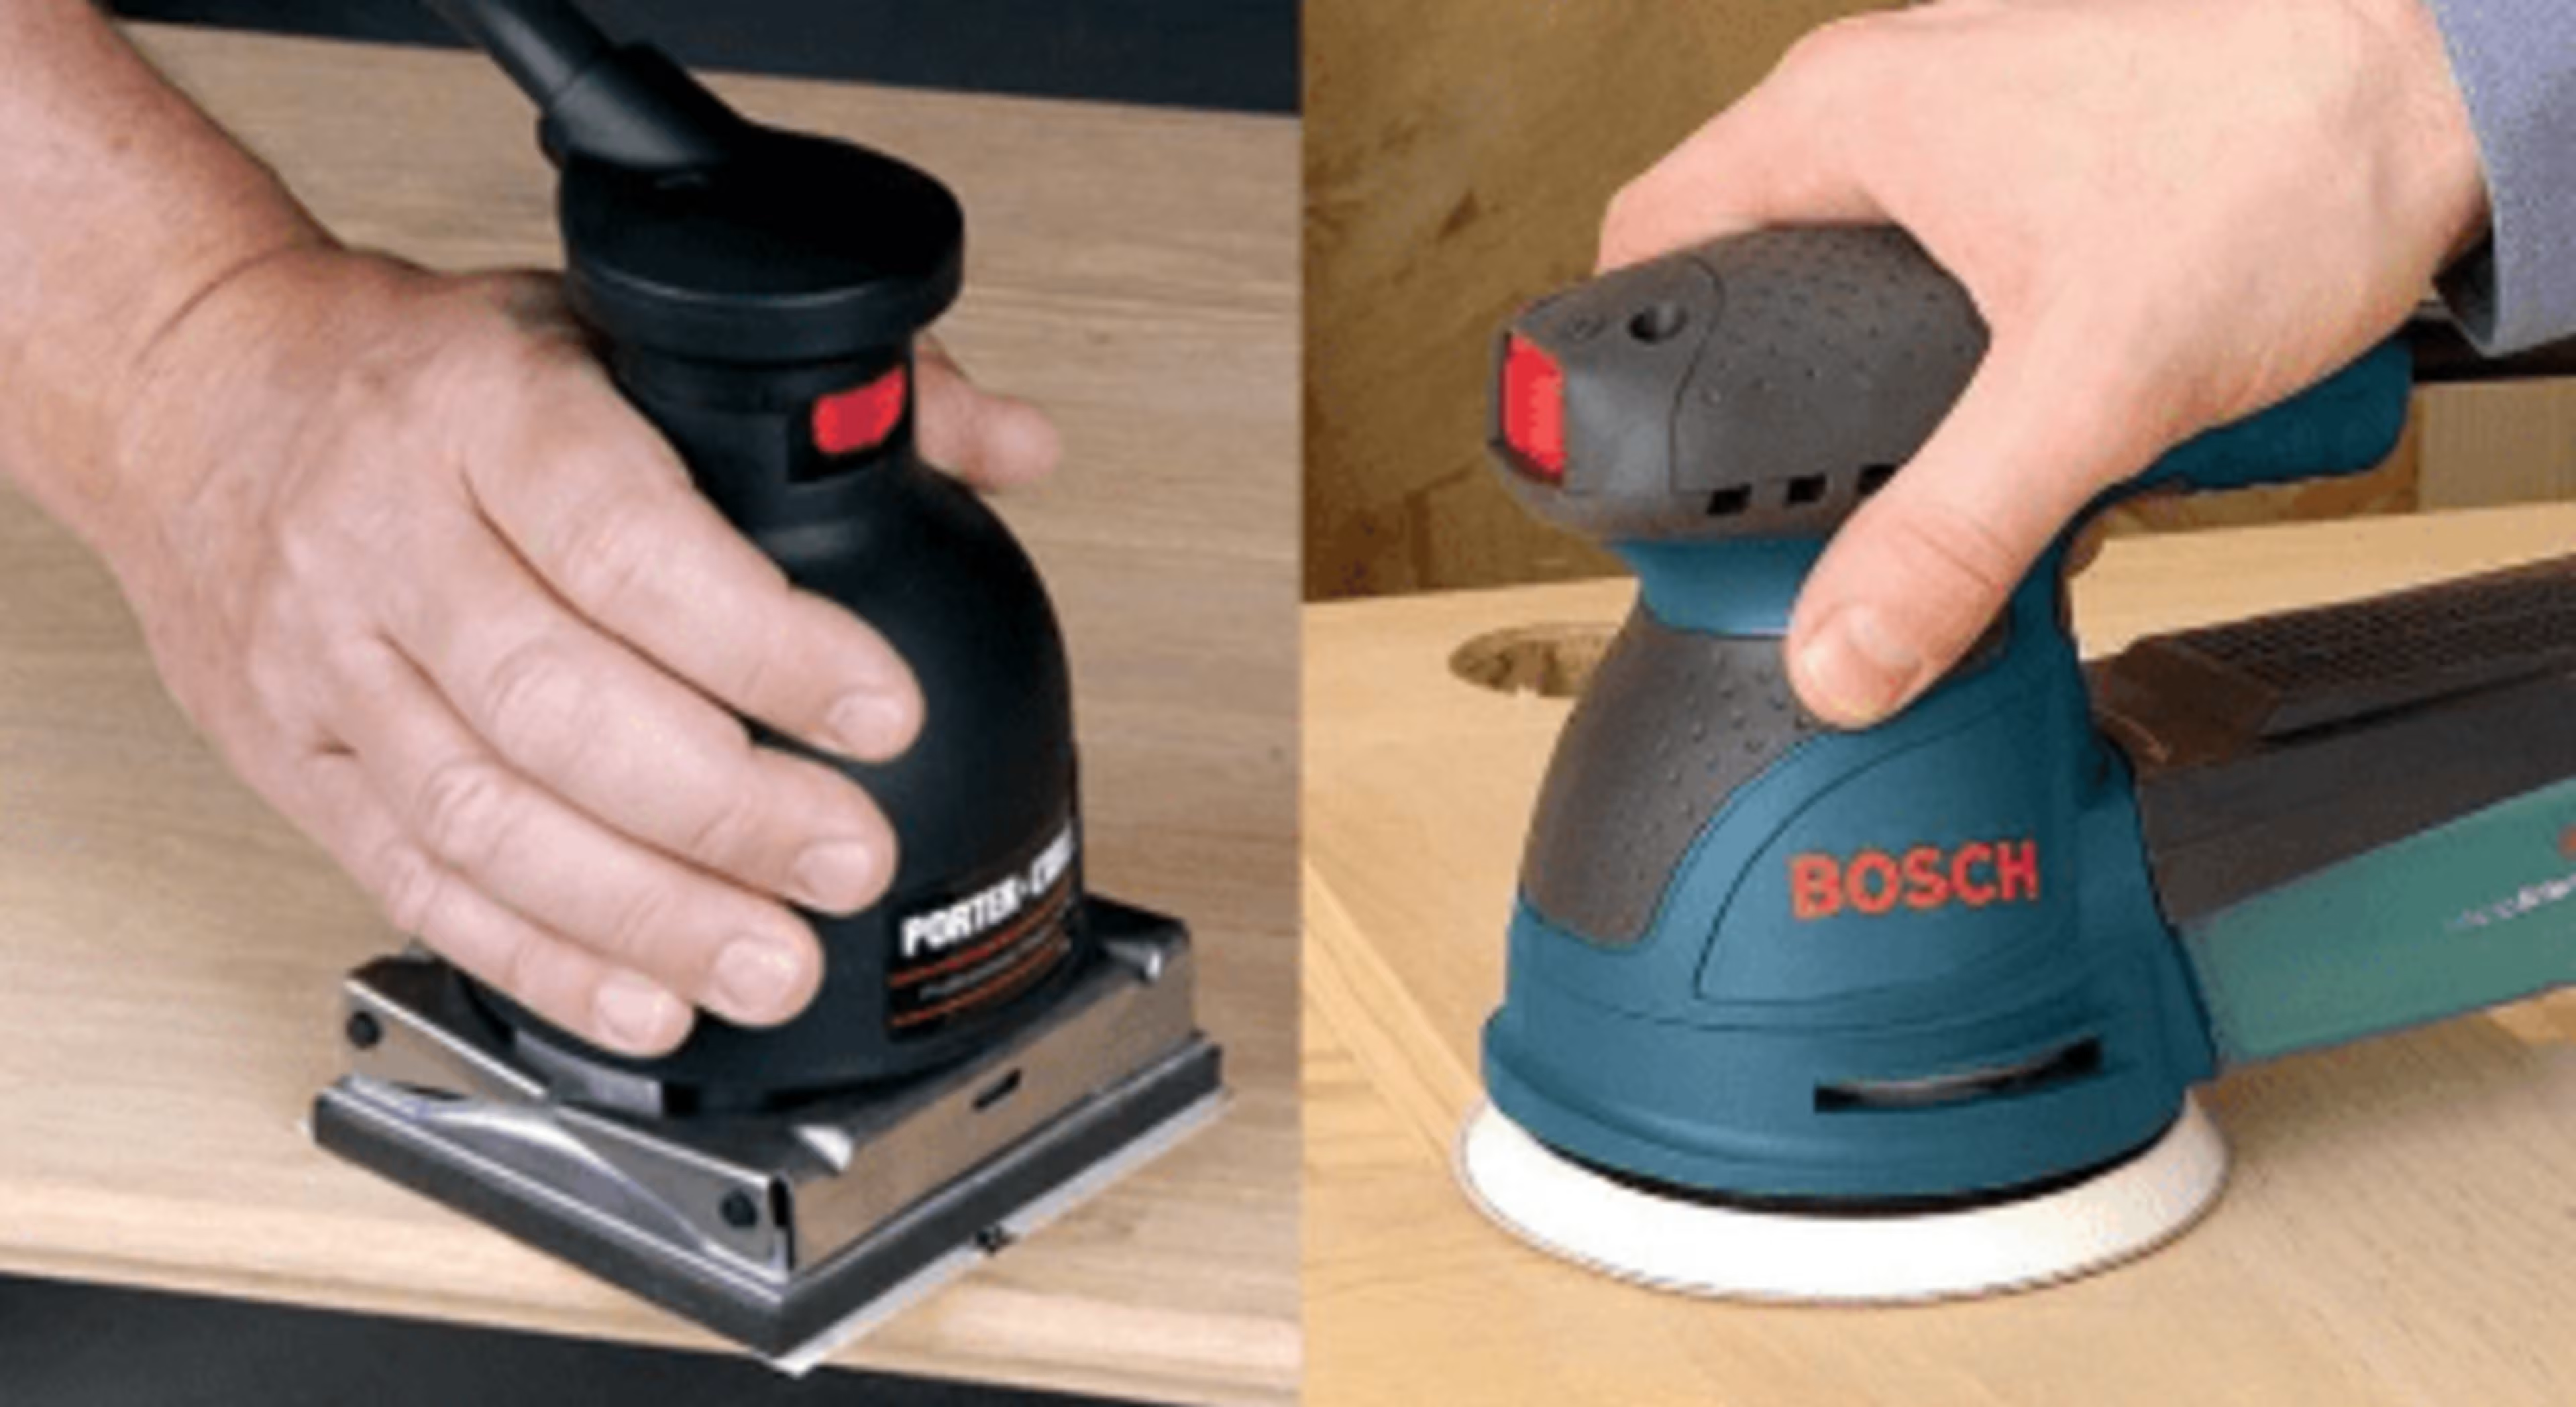
This general name is used for several different kinds of carpenter tools. The basic finishing sanders are one-quarter or half-sheet (of sandpaper) models, like the one shown here. The motor moves the bottom pad (that backs up the paper) in a simple vibrating motion comprised of small (5/64 in. diameter) orbits. These sanders aren’t terribly aggressive, though they do operate at speeds of 10,000 to 14,000 OPM (orbits per minutes). They often come with some type of collection bag that can successfully pick up much of the dust.
Sometimes the slow and steady route is just too laid back. There will be a point where you want to remove stock quicker. This is where the random orbit (RO) sander comes into play. RO sanders typically have 5 in. diameter disc-shaped pads that rotate at about 12,000 OPM, like right angle grinders. Instead of the simple vibrating action used for basic finishing sanders, the pads on these tools rotate while moving in small random orbits, which is a more aggressive motion. Dust collection is standard with a bag, a canister, or a vacuum connection.
Typically, the biggest differences in these tools are what type of sandpaper they use and what type of fastening system holds the paper to the tool. Adhesive-backed sandpaper discs are very common. Just peel off the backing paper, and press the disc onto the pad. Hook-and-loop sander pads and abrasive sheets are also available. These hold up very well, but do cost more.
All finishing sanders are easy to use. Just load them with paper, place them on the workpiece, hold tight and flip the switch. You can also start them before you put them on the surface. Common sandpaper grits are 100 for general rough sanding, followed by a progression through finer grits, usually 150 to 200 to 220 or 240.
Problem Solver: The Rotary Tool
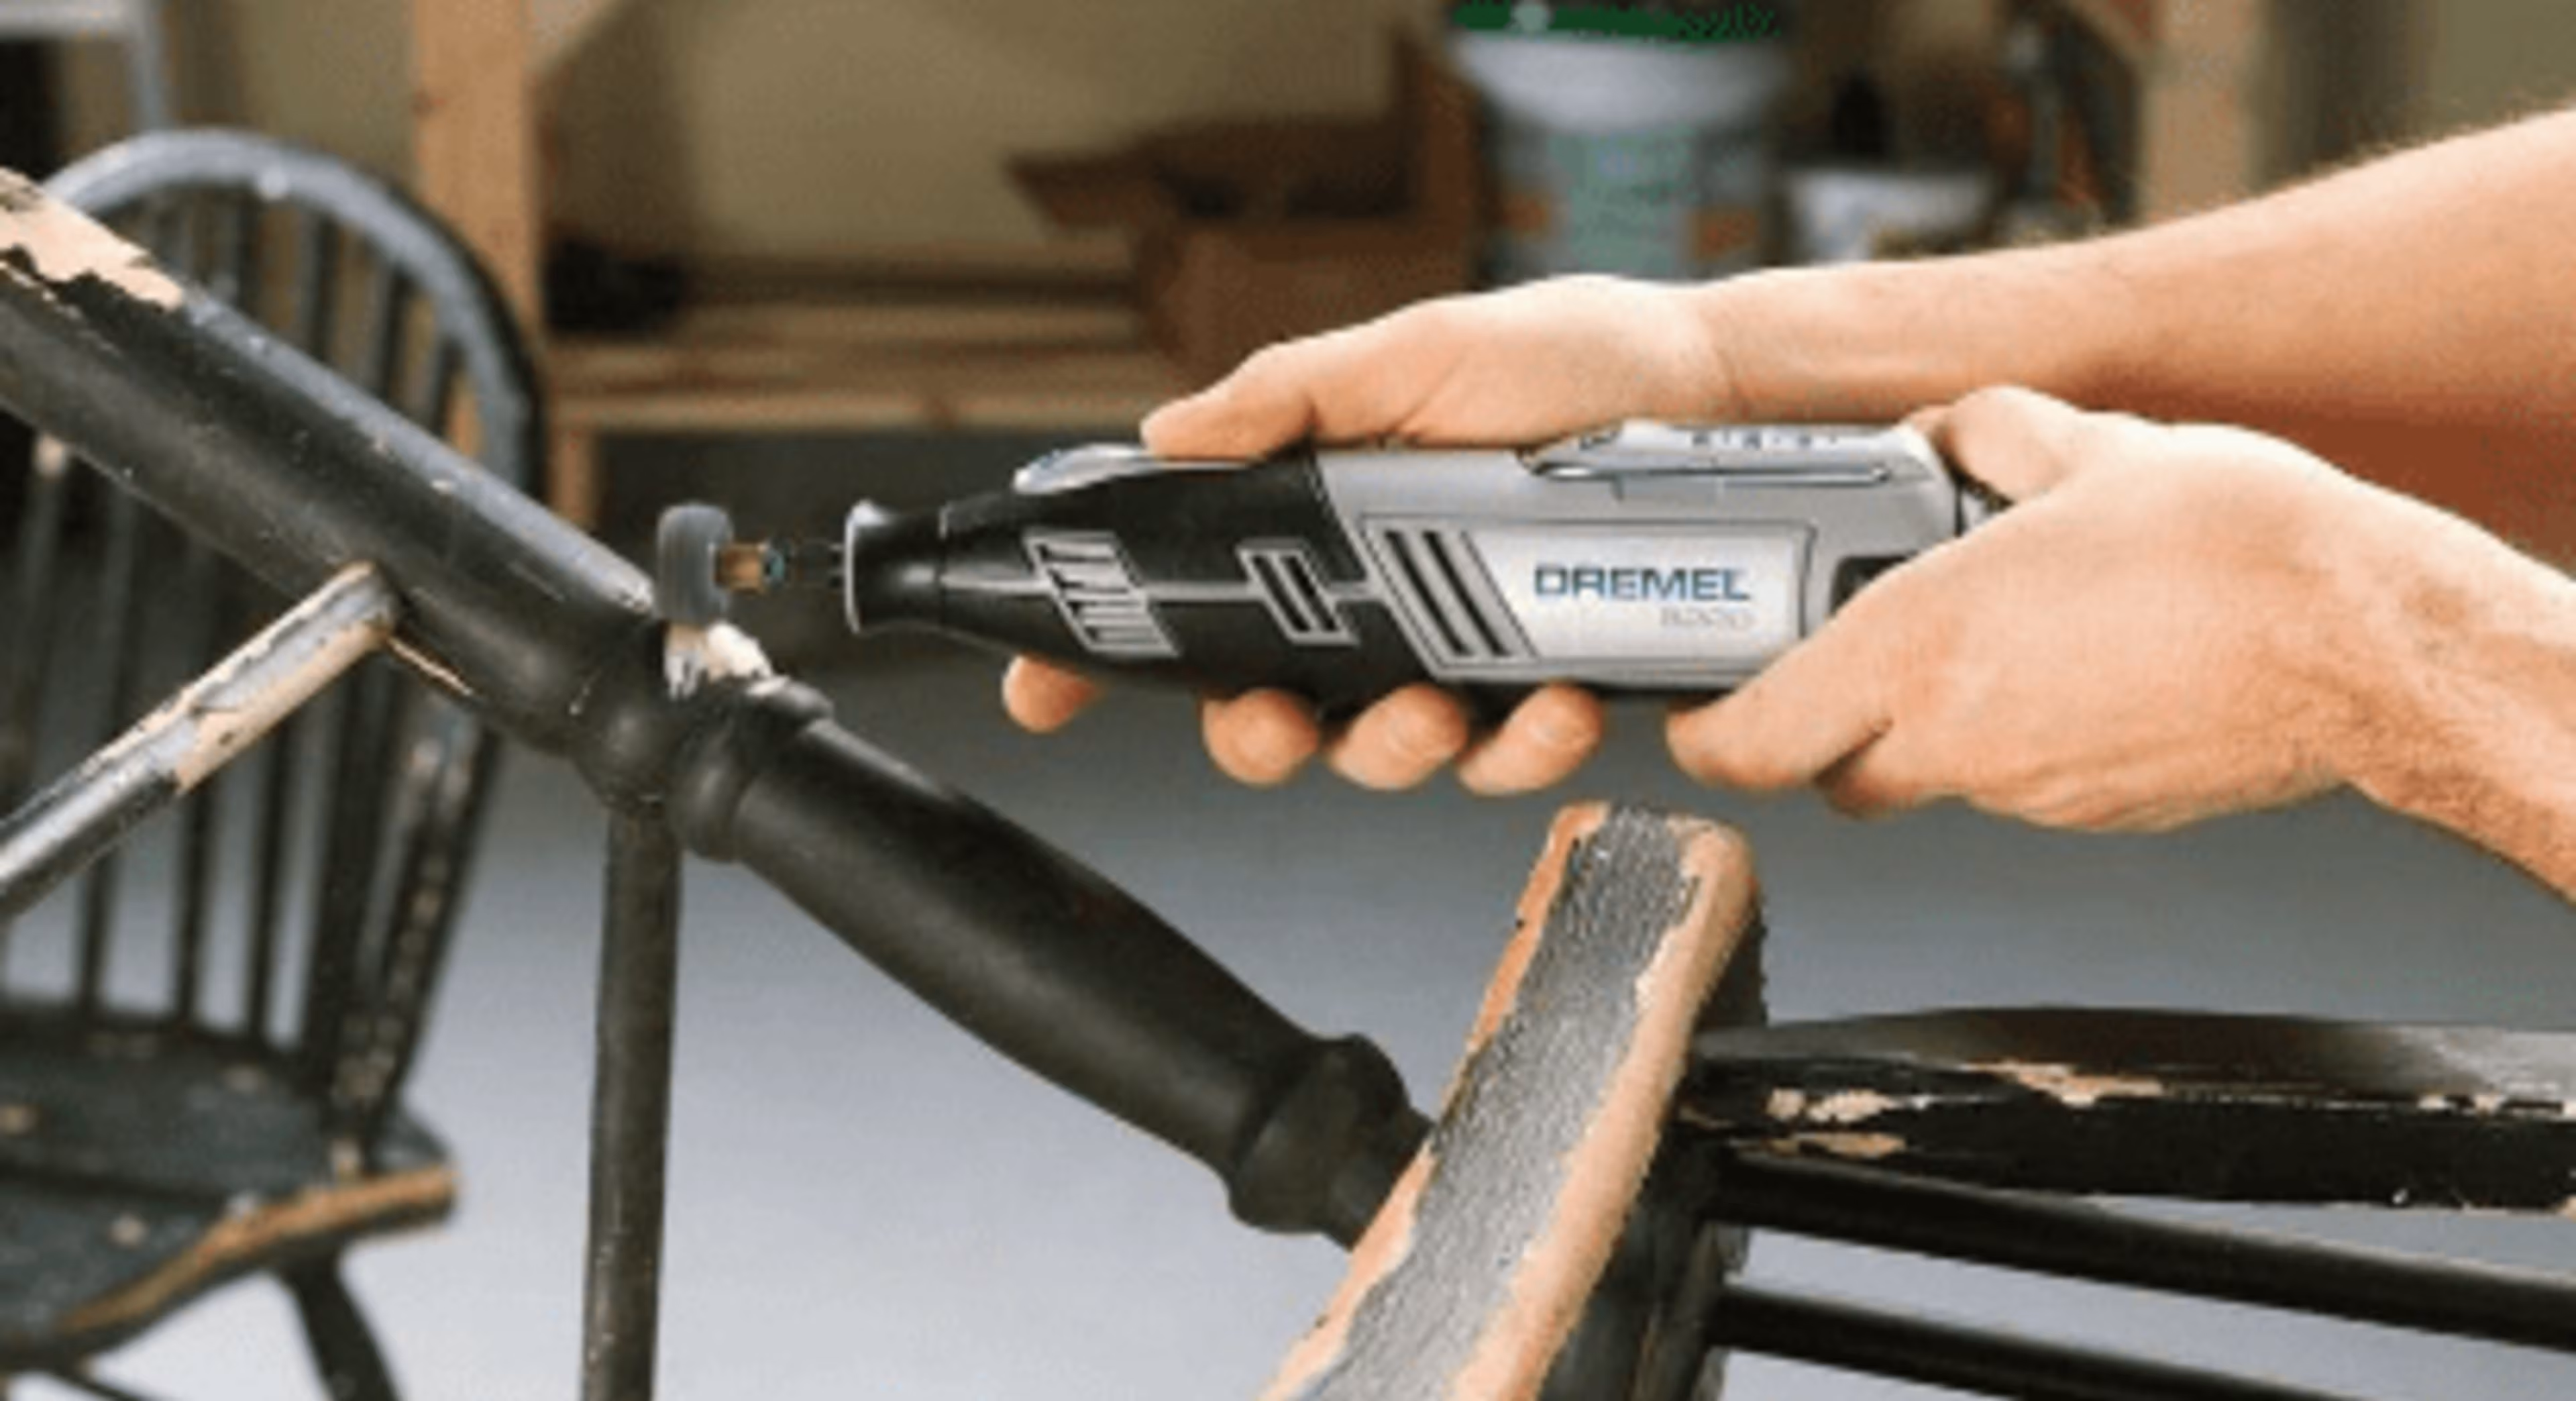
The rotary tool is the Swiss Army knife of power tools, with dozens of purposes and attachments. It’s a marvel of industrial design and engineering. They have small motors (around 1.5 amp), but high rpms (up to 35,000), are very lightweight (5 or 6 lb.), and come with a collet chuck, much like a router, that holds a wide variety of different bits. A representative, but far from comprehensive list, includes small diameter drill bits, abrasive cut-off tools, wire wheels, grinding stones of various shapes and grits, wood carving burrs of various sizes and shapes, small drum sanders with interchangeable abrasive sleeves, and buffing discs to polish metal surfaces.
These tools have always been popular in the hobby world, but they are just as valuable to a carpenter. Because so many molding joints have to be cut (coped) to fit, finishing touches on these cuts have always been done with a series of wood files and rasps. These hand tools work fine, but a rotary tool is faster and leaves behind a much smoother surface.
Various stone grinding wheels can be used to touch up the cutting edges on chisels and plane irons, and you can use the cut-off discs to remove bent nails (and broken screws) without harming the trim surface with typical nail pulling techniques. When equipped with a small drill bit, cordless rotary tools are great for boring nail clearance holes in small trim boards without carrying around a heavy drill or pulling an extension cord through jobsite rubble. Older versions of this tool usually had small wrenches to tighten and loosen the collet nut, but some newer models feature wrench-free bit tightening. This makes switching bits much easier and faster.
Tool Preference: Corded vs. Cordless?
With the recent advancements in lithium-ion battery technology and the advent of super-efficient brushless motors, some cordless tools are starting to compete favorably with corded electric tools. Of course, corded tools will always have the advantage of never running out of power (as long as the electricity is flowing), while battery-powered tools offer the convenience of being untethered.
That raises the question: Should you buy cordless or corded tools? The short answer: Yes. There are definite advantages that cordless tools have over their corded counterparts, and the opposite is true as well. For example, there’s no denying the necessity of owning a cordless drill/driver. It’s simply the easiest, quickest, most effective way to bore holes and drive screws. Conversely, there’s no substitute for the raw, all-day cutting power of a corded circular saw.
Then there are some power tools, like an impact driver, that are only available as a battery-powered tool. But for high-draw power tools, like a belt sander or router, corded is the only practical way to go.
In the end, the real answer to the corded vs. cordless conundrum is that, depending on the individual tool, you’re probably going to have to buy some corded tools and some cordless tools—and there’s nothing wrong with that.
Goodbye Mr. Tape Measure: The Laser Measuring Tool
The “tape” part of the name “tape measure” is a bit of a misnomer. The thin steel blade in these tools is nothing like a piece of tape. It’s concave shape from edge to edge makes it rigid even when extended for 5 or 6 feet. But after 6 feet, the tool becomes true to its name when the blade suddenly “breaks” and the lead end falls to the floor. Everybody who uses a tape measure knows how this works and compensates by creating workarounds to get an accurate measurement even when it’s hard to keep the blade flat and straight.
In most cases, the measurements required in trim work are relatively short, so this liability of a standard tape is no problem. But baseboards and crown moldings are different. They follow the perimeter of a room at the floor and at the ceiling—both typically have measurements longer than 5 or 6 feet. This is where a laser measuring tool pays for itself in a couple of hours.
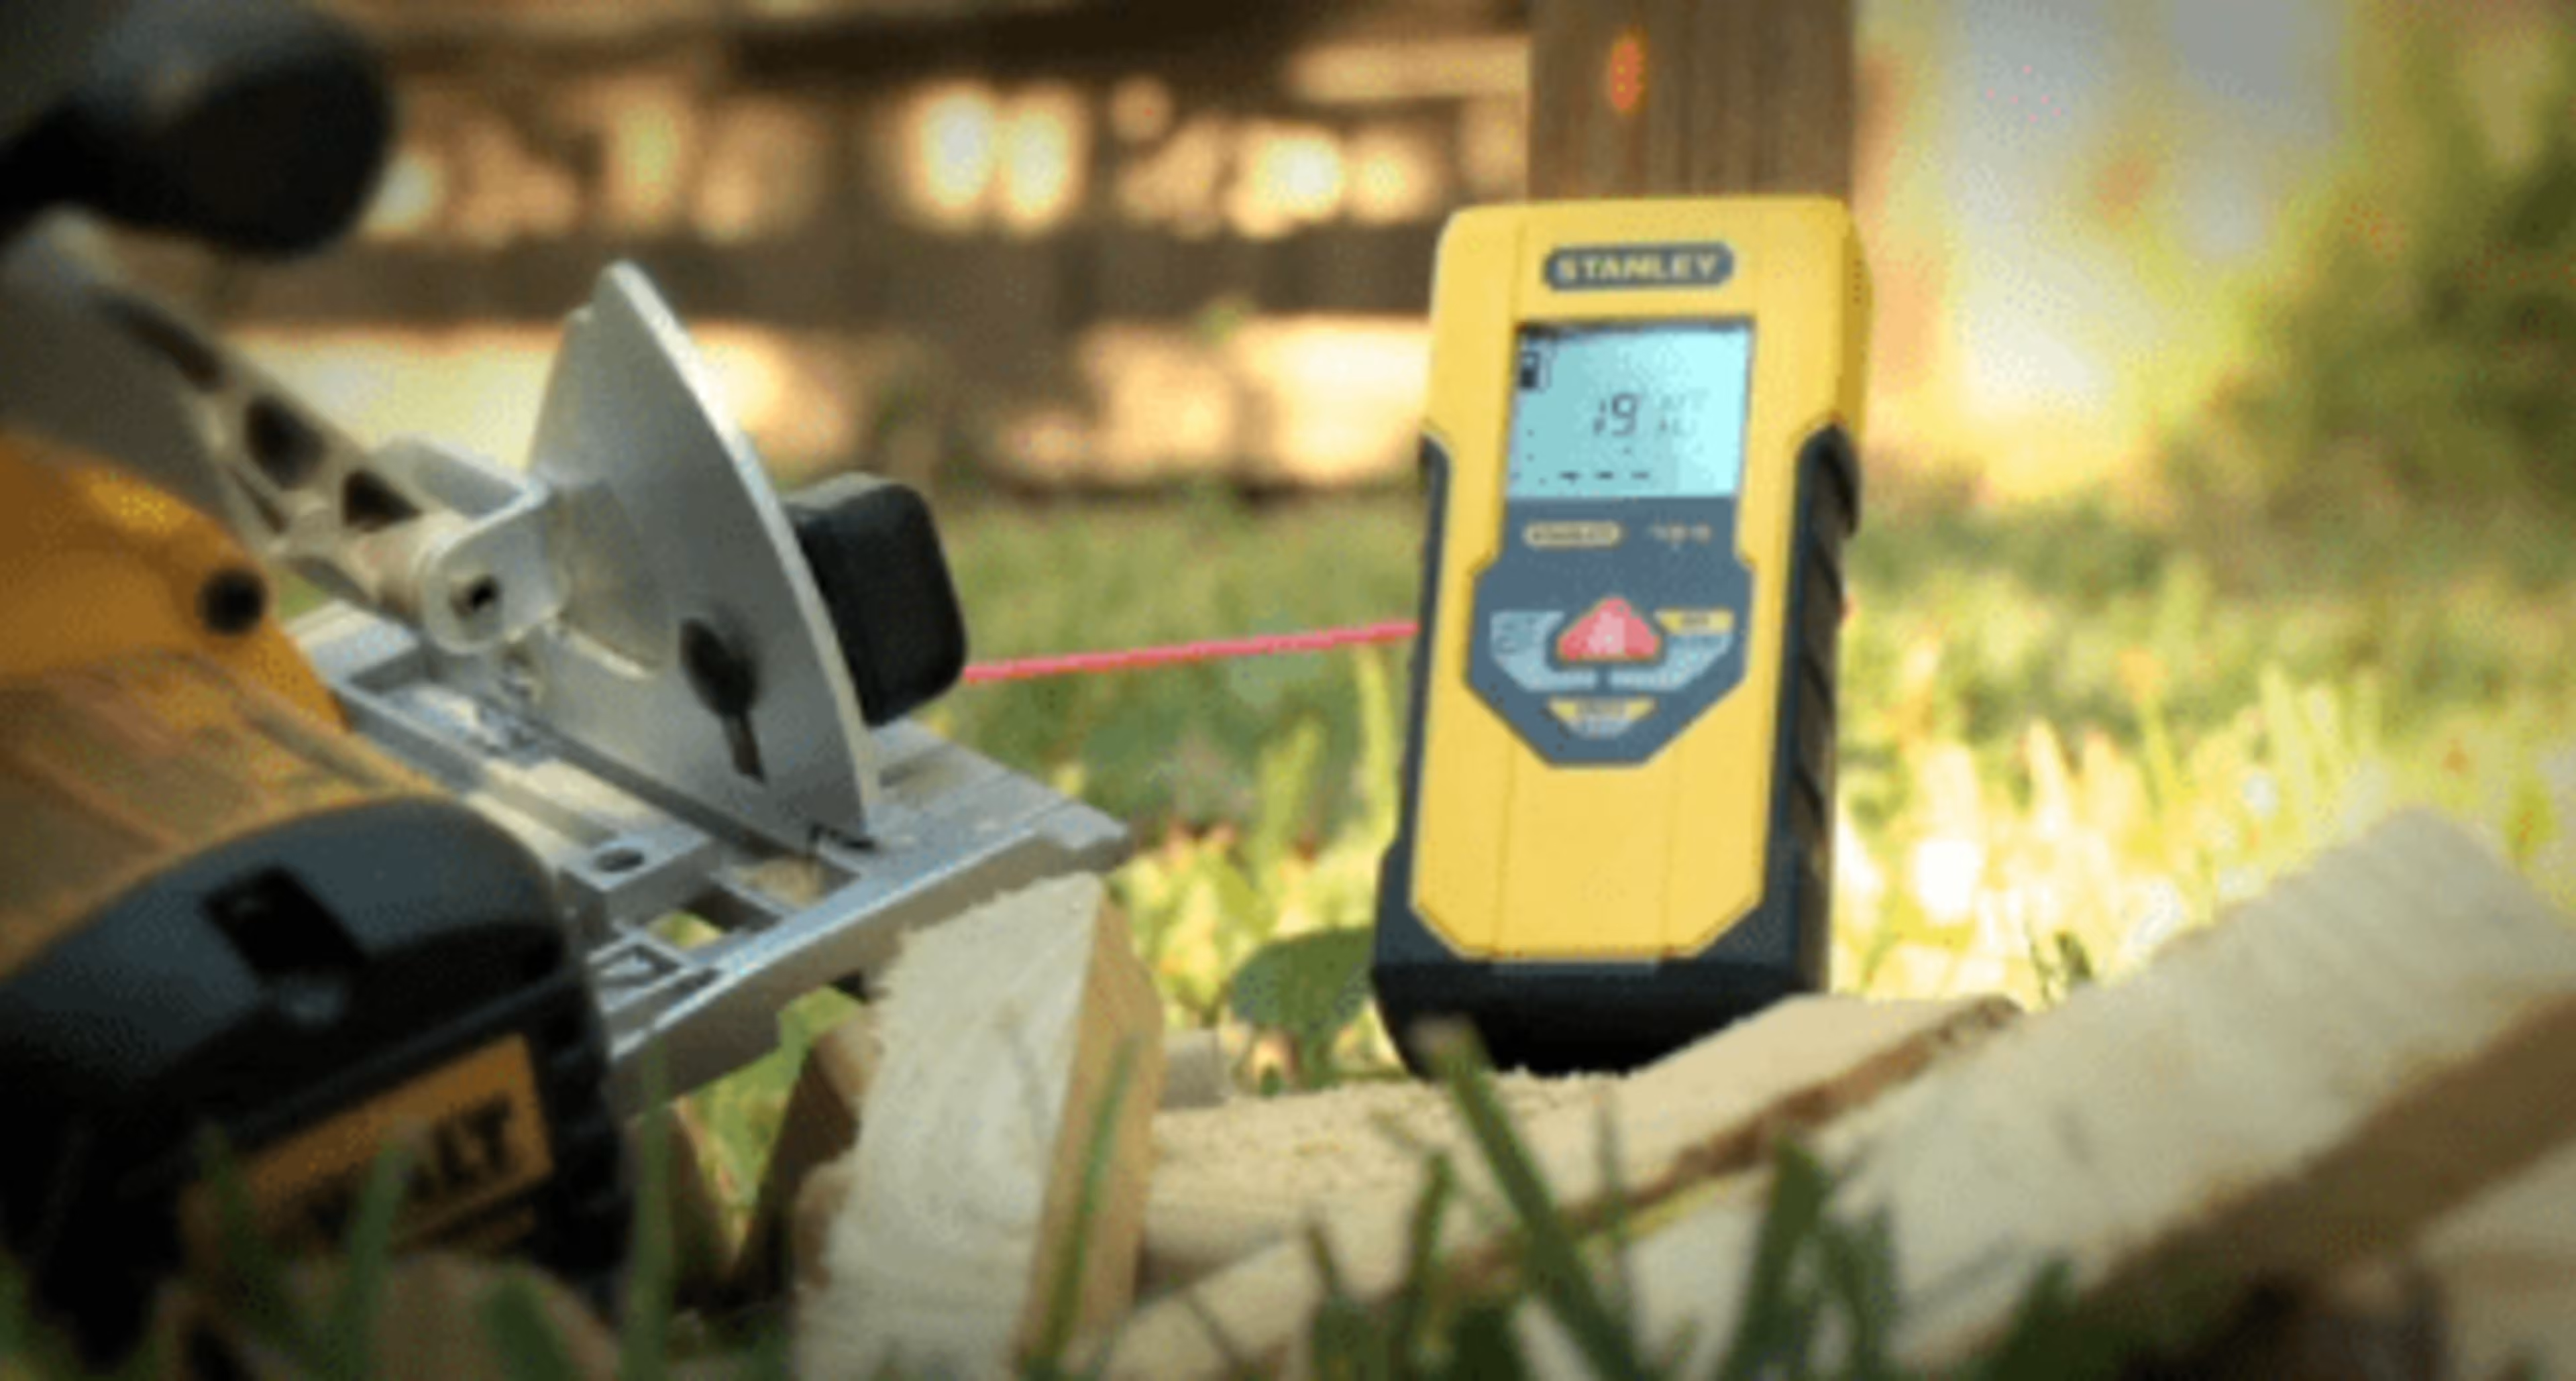
By making quick and accurate (English and metric) measurements, these lightweight, battery-powered tools keep your tape measure in your tool apron until short measurements are required. The tool shown here measures just 1.5 in. x 7 in. x 11 in., so it’s easy to carry, and it claims an accuracy of 3/32 in. up to 100 feet. The tool can also calculate area and volume of a room, valuable for installing raised-panel walls or coffered ceilings.
For carpenters who are supplying their own material, especially on big jobs, the laser tool becomes a real time saver. It takes less than a minute to total up the baseboard, shoe molding, and ceiling molding requirements of a room, even if the room has jogs and short walls. This tool also has a continuous measurement feature that displays the increasing distance from a wall as the tool moves away.
What’s Next: Improving Productivity
After the basic power tools and any number of hand tools that can make the job easier, most carpenters look into adding a small compressor and air nailer to their toolbox. A good option is shown here.
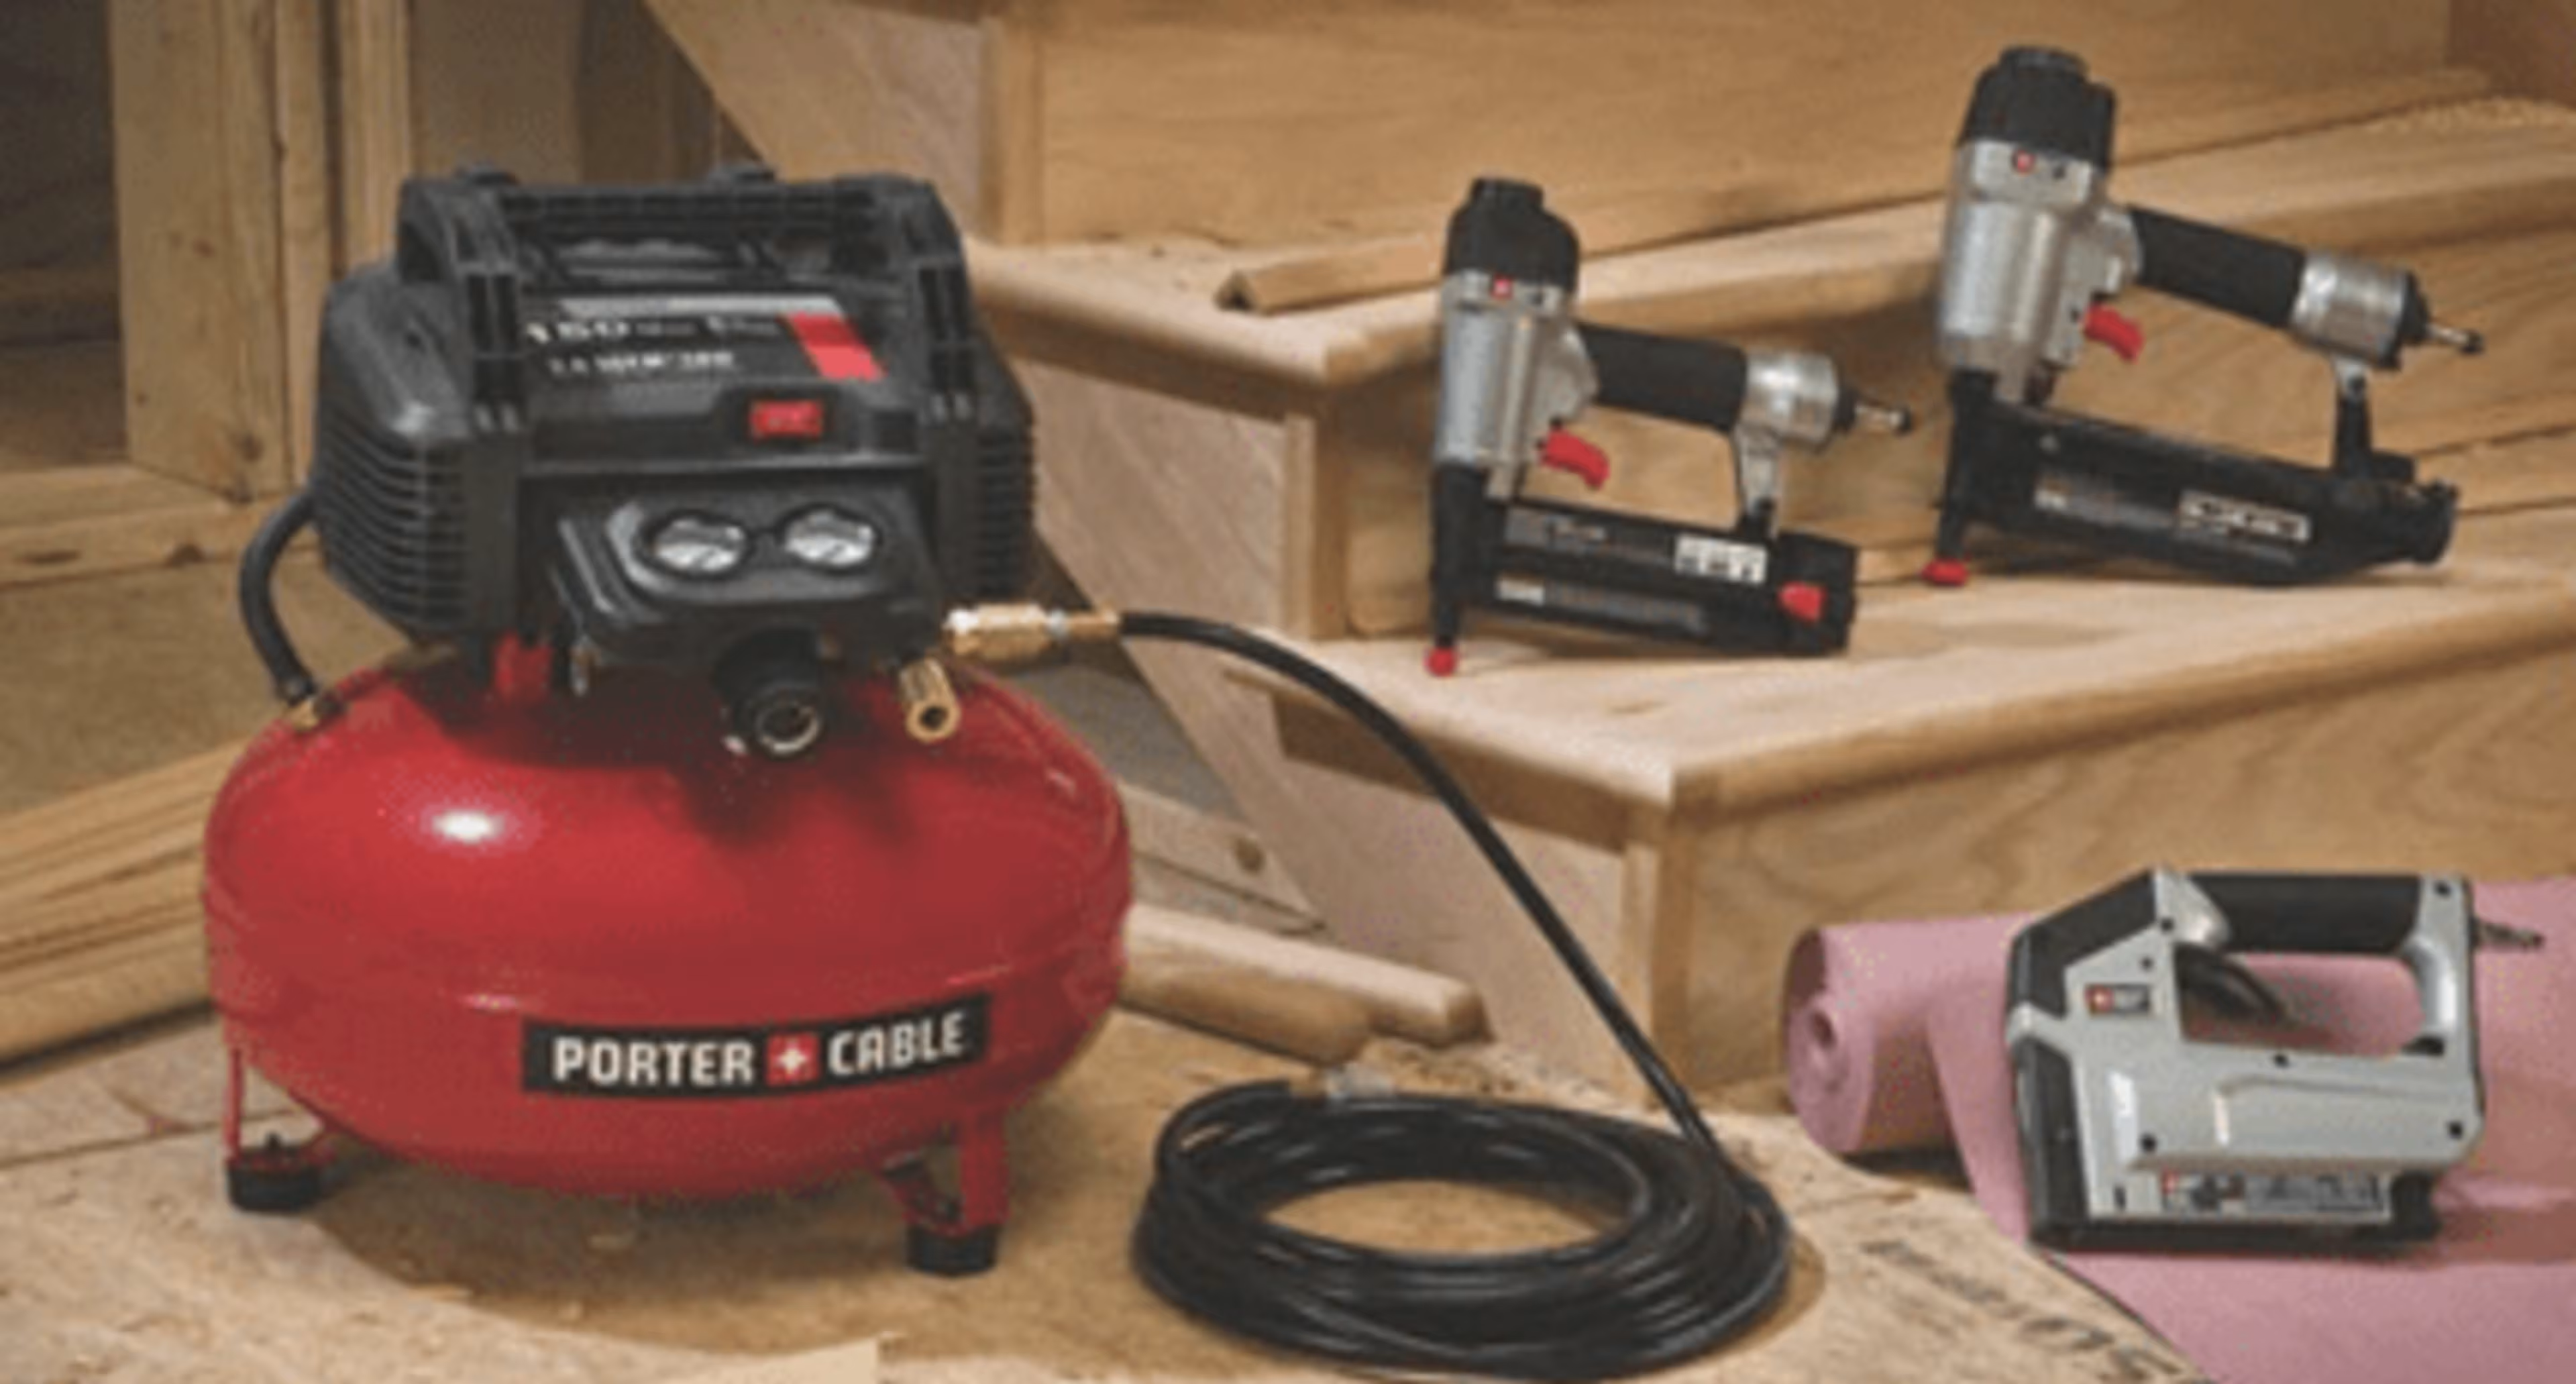
This kit includes a compressor that produces more pressurized air than any nail gun requires. Also included is a finishing nailer and 25 ft. of air hose. The compressor weighs 30 lb., has a 10-amp motor, and works on a standard house current of 120 volts. These tools are coveted because they make nailing work so much easier, faster and, in most cases, more accurate.
To use this setup, just plug the air hose into the hose fittings on the compressor and the nail gun. Then turn on the compressor, load the nailer with nail strips, and you are ready to go. For safety purposes, the trigger of the tool is only activated when a nose switch (located where the nail exits the gun) is depressed. If this safety switch is not pushed firmly against the workpiece, the trigger will not fire a nail. The compressor is permanently lubricated, and the nail gun just needs a drop or two of light oil squeezed into its air hose coupler fitting before starting work each day. The nailer can also be adjusted to set nail heads just below the surface of whatever material is being nailed.
Gun nails are assembled into “sticks” that are glued together to make loading them into the nailer magazine possible (Imagine loading the nails individually!). They come in boxes of 1,000 or more nails and have a bright finish, chiseled points, and heads that hold firmly in the wood. Other lengths are available depending on the nailer that you buy.
Staying On Track with Construction Project Management Software
Keeping track of all the moving parts of a big project can be a daunting task, especially if you’re working with team members who function autonomously on certain tasks. Finding a way to organize, communicate, and track progress can be the difference between a job that hits the projected targets and one that ends up behind schedule and over-budget.
Beyond tracking milestones and keeping assets in check, construction management software can allow team members to reference key details of the project and collaborate on ideas in a centralized forum, ensuring that everyone involved has the latest information and directives.
For those in the construction industry, this means being able to stay on top of all aspects of the project as they progress and getting information out to everyone involved in the job as things change along the way. Being able to keep track of what project resources need to be replenished before they become an issue can prevent frustrating and costly delays—the last thing you want is for to work to grind to a halt because, halfway through the day, you’ve suddenly discovered that your team has run out of materials.
With numerous project management software solutions available today, it’s also important to match the right software with the needs of your project and team, whether that includes workflow features, invoicing, direct communication, or all of the above. As with most long-term projects, the efficiency and effectiveness of the tools you use will play key roles in the result.
Power Play: 5 Complementary Power Tools
Here are five more power tools to consider adding to your carpentry tool arsenal. You probably won’t need to acquire all of these tools at once, but adding them as needed will ensure that you’ll always be tooled-up and ready to tackle any job.
• Electric drill—While cordless drill/drivers might be the most valuable of all portable power tools, sometimes you just need the raw power and high-speed performance of an electric drill. Choose a model with a ½ in. chuck, variable-speed reversing motor, auxiliary handle, and extra-long power cord.
• Jigsaw—A jigsaw can make curved and straight cuts in virtually any building material, including wood, metal, plastic, and plywood. If you get one with an adjustable shoe, you can make bevel cuts up to 45 degrees, as well.
• Router with router table—The handheld router is an extremely versatile tool, but when you mount it into a router table, it becomes an indispensable woodworking machine. Router tables are essentially mini-shapers, which can be used to cut decorative edges, plane edges, and mill dozens of different types of wood joints.
• Power plane—A power plane allows you to smooth edges with speed, control and laser-like precision. It’s most useful for planing door edges, but it can be employed whenever and wherever you need to produce a perfect-fit part. • Pin nailer—A pin nailer is a pneumatic tool that shoots super-thin 23-gauge nails, known as pins. The resulting holes are so tiny, there’s often no need to fill them with wood putty. The pins are headless, so they don’t have very much hold-down power, but they’re perfect for attaching thin trim and securing joints that are glued.
Regardless of whether you’re just starting your carpentry career or are a grizzled veteran, it’s important to stop every now and then to evaluate your tool collection. Then, you can replace defective tools, upgrade existing tools, and introduce new tools that can help you work better, faster and safer.
More?
Which tools should we have included in the carpenter’s toolbox? Any that we should have left out? Let us know in the comments below!